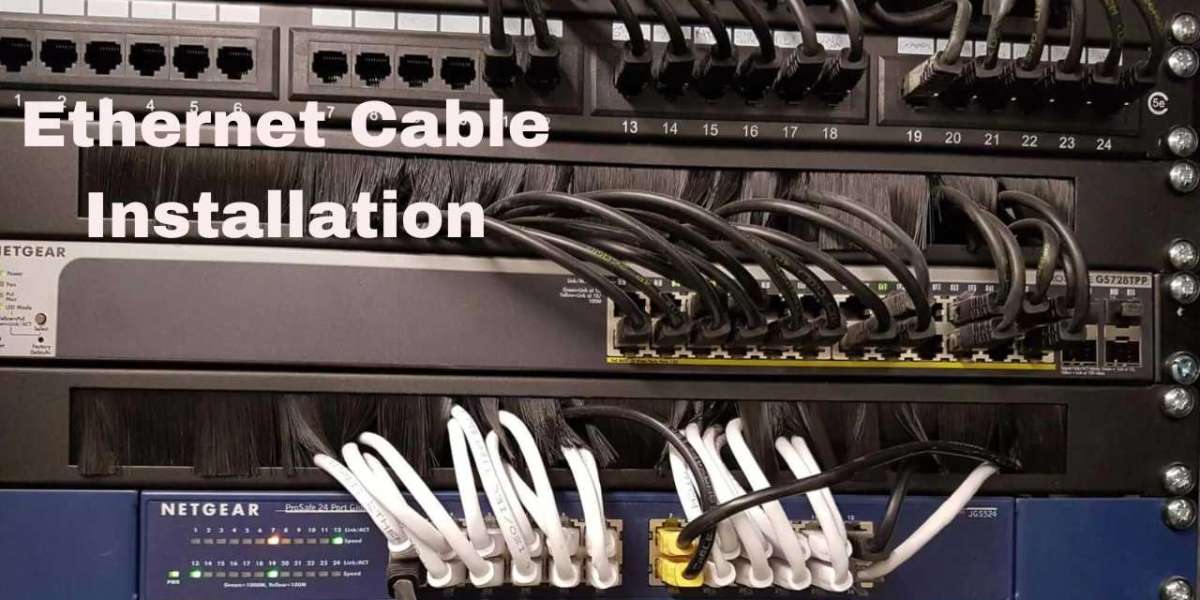
Are you the one looking for the best cable type and the installation guide for the ethernet cable for your indoor network cabling setups? Yes, you have landed on the right spot here you will get the DIY method for ethernet installation and the best cable you should buy.
For indoor installation, there are two most modern ethernet cables “Indoor Cat6 cable and bulk cat6a riser cable”. But to install cable outdoors there is another jacket called direct burial cat6 cable except for colors the internal specs of the cable are the same and show advanced variants that adjust the consumers to buy it according to the speed of the Internet Service Provider (ISP).
Let's start the discussion by understanding the internet speed that will give you an idea to go for expensive or cost-effective cable.
What is Internet Speed?
Internet speed is the maximum potential of data transferred from one point to another through a medium. You are mostly aware of the speed standards like 10 Mbps, 20 Mbps, 30 Mbps up to 200 Mbps, and so on. It's the speed that makes your network go boom and zoom regarding performance and functionality. But these speed specs are kinda confusing terminology for those who are not tech-savvy or have less ethernet cable knowledge.
Here I am going to break the ice for selecting the right cable for the internet speed you are getting from your ISP (Internet Service Provider).
For proper speed checks given below are the speed specs of the Cat5e, Cat6, and Cat6a cables.
Ethernet Speed Specifications
Cat5e — at short distances, the cable delivers 1000 Mbps speed, and at longer distances 100 Mbps with 350 MHz bandwidth. The cable is an excellent choice but for sure there are some of the drawbacks that you should understand and consider while buying the cable. The length limitations, and not suitable for high-end applications that require speed above 1 Gbps.
Cat6 — Two speed ratings for this as well but it is more sophisticated than its previous cat5e cable. At longer lengths like 100 meters, the cable will deliver 1000 Mbps speed, and for shorter distances, the cat6 cable will deliver 10 Gbps speed which can be more than enough for catering to the high-end speed.
Cat6a — the highly advanced cable regarding the speed whether used for longer or shorter distances the speed is the constant 10 Gbps. The Cat6a cable features the highest bandwidth — 750 MHz and that cat6 cable delivers 550 MHz.
Which Cable You Want For Your Network
When deciding the cable priority is the speed that matches your network and equipment like the network switch and hub to fully sport the speed. It is very important to look for the server's needs so that you can easily understand which cable will quench your network speed ratings.
The ethernet cable like indoor cat6 cable comes with two jacket ratings — Plenum which is a premium of all and the other is Riser also denoted by CMP and CMR respectively.
Ethernet cables play an important role when you want speed and also one more thing that consumers do not bother to take care of is the internal conductor of the cable. There are more queries about “Which conductor is superior in ethernet cable” so for the right speed, copper is a more advanced core part of the ethernet cable than CCA (Copper-Clad Aluminum).
For evaluation of the right cable type read the cable specs
- Speed ratings
- Bandwidth
- Length requirements
- Installation Location
- Conductor type
- Simple use or complex usage of network
- Can’t afford to rip the speed
- Environment
Such points will help you understand when choosing the right cable for your network. When you are habitual of the speedy internet connection the cabling infrastructure is also adjusted. Then there is no way back for downgrading the ethernet cabling.
Indoor Cable and Outdoor Cable Difference
Likewise, ethernet cables have different specs, the outer jacket distinguishes the cable and makes them suitable for indoor installation or outdoor. When you talk about Cat6 riser cable or plenum — both jackets are for indoor use perfect for Horizontal or Vertical shafts of the buildings. For indoor installation of ethernet cable — if the building has strict ratings for fire safety then Plenum cable is used that is particularly suitable for bearing harsh temperatures and also acts as a fire extinguisher that prevents flames from spreading along the floor.
The second rating is the Cat6 riser cable which is the next indoor cable to protect the cable from heavy burns or damage. The PVC material is the right for acquiring the protection layer. The riser spaces have no hard safety precautions so there are fewer chances of fire progression.
There is no way that you can use plenum or riser cables for outdoor installation purposes. If you do, be ready to invest in the conduit (An Extra protective layer).
For outdoor cat6 cable installation, the cable comes in a Direct Burial jacket, CMX is the short form to recognize this cable. Like a plenum or riser, the Direct Burial Cat6 cable is made up of PE, an LLDPE material that is just for underground wiring.
The next more advanced feature is that it uses a gel-like substance filled inside the cable jacket to protect the cable’s conductors.
DIY Method Of Installation Cat6 Cable
For the ethernet cable installation, you need some valuable tools to make your installation more easy.
- Cable cutter, crimping tool, RJ45 connectors, scissors, cable tester,
- First, take the cable and carefully cut the outer jacket of the cable this will expose the twisted pair of conductors. Carefully do not cut the conductors.
- The next step involves untwisting the 4 pairs, making them straight through the cut part of the cable jacket or you can use anything at your convenience.
- Once straighten the 8 individual wires, now join and align them according to the wiring scheme you want to adopt. T568A and T568B.
- For T568A please observe the following standard
- Striped Green / Solid Green
- Striped Orange / Blue
- Striped Blue / Orange
- Striped Brown / Brown
- For T568B please follow the following wiring schemes
- Striped Orange / Orange
- Striped Green / Blue
- Striped Blue / Green
- Striped Brown / Brown
- After you made your choice for the wiring standards, cut the straight cables to make them align.
- Then insert the wires into the RJ45 connector, press it well, and insert the RJ45 connector to the crimping tool and apply limited pressure so that the wires terminate correctly.
- Make sure that no conductor wire is loose.
- Repeat the step on the other end of the cable and then test the cable by inserting the cable into the cable tester so that the wiring scheme is checked.
This is how you can install the cable cat6 riser cable inside your home. When outdoor wiring is not an easy task it may take hours to complete for that you potentially need an expert or if you are a jack of all trades then give it a shot.
Final Thought
Installing cables is quite simple but making them even professional for not creating a cable mess is a tough job. Cat6 riser cable installation needs proper guidance and if you are using the copper wire, it's a costly investment you made so do not bend the cable over its limit. Do not press the cable conductors so tightly or tie them tightly it may create a kink and your cable may cause transmission errors.
When choosing the cable check the internet speed, demand, the need to run the cable, and the purpose. It will make your purchase more effective.