The user can create an invoice in QuickBooks desktop pro for customer sales for which the payment will be made later. Moreover, the invoice shows the customer’s information. In order to create an invoice in QuickBooks desktop, the user has to follow a couple of steps. Invoices usually assist the user to manage the accounts receivable. QuickBooks accounting software has a feature to create an invoice and the document is given to the buyer by the seller to collect the payment. Before creating a QuickBooks invoice for goods and services ensure that you have all the necessary details needed to create it.
If you also want to create an invoice in QuickBooks desktop, then make sure to read this post carefully till the end. Or you can also get in touch with technical support team for further technical assistance. QB experts and certified accounting professionals will ensure to provide the best possible support services instantly.
Steps to create an invoice in QuickBooks desktop from scratch
The user carries out the steps below to create an invoice in QuickBooks desktop from scratch:
- At first, the user needs to select the create invoices

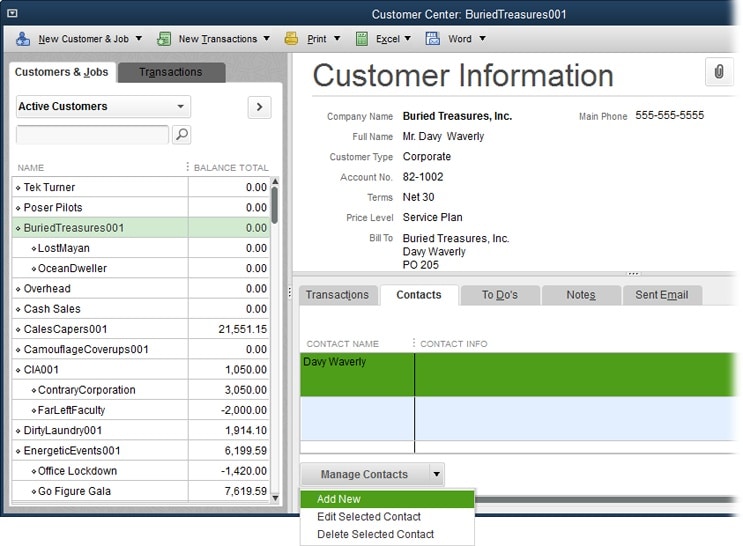
- And then, from the customer job drop down menu, select a customer or customer In case you are unable to look for a customer or job in the list, then choose Add new option.
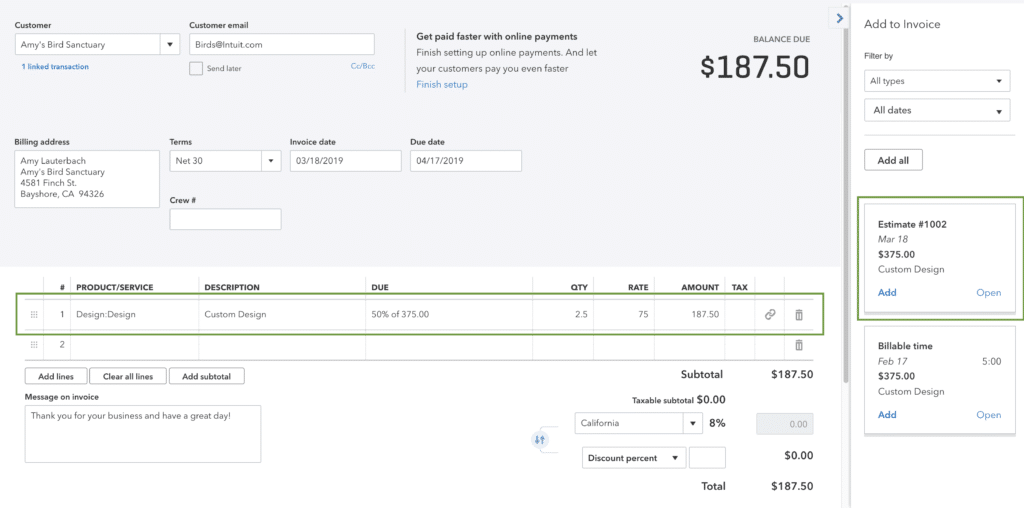
- Now, fill in the information in the form like the bill to/sold to, date invoice, and terms.
- The user is then required to select the items .
- Also, in case you wish to apply for a discount, and create a discount
- The user will have to move to the list’s menu from the home screen.
- And then, select the item list.
- Also, right click anywhere on the system screen and select
- Now, the user will have to select the type drop down and select the discount option displayed on the screen.
- After that, the user will have to add an item name and also a give a brief description.
- Also, add the discount percent or
- The user will then have to select the income account to track discounts.
- Select the right tax code for the item.
- And click on

- The last step is to select save and close.
Conclusion!
We conclude the post, with the expectations that the information above might help in creating invoices in QuickBooks desktop with much ease.
However, if you are stuck at any point of time or you need any sort of technical assistance, then feel free to call at 1-800-761-1787. QuickBooks desktop support team will ensure to resolve your query and provide the best possible assistance.